
Step 2: Creating Service Page
<< IndexIn the end of this tutorial, your services page will look like,
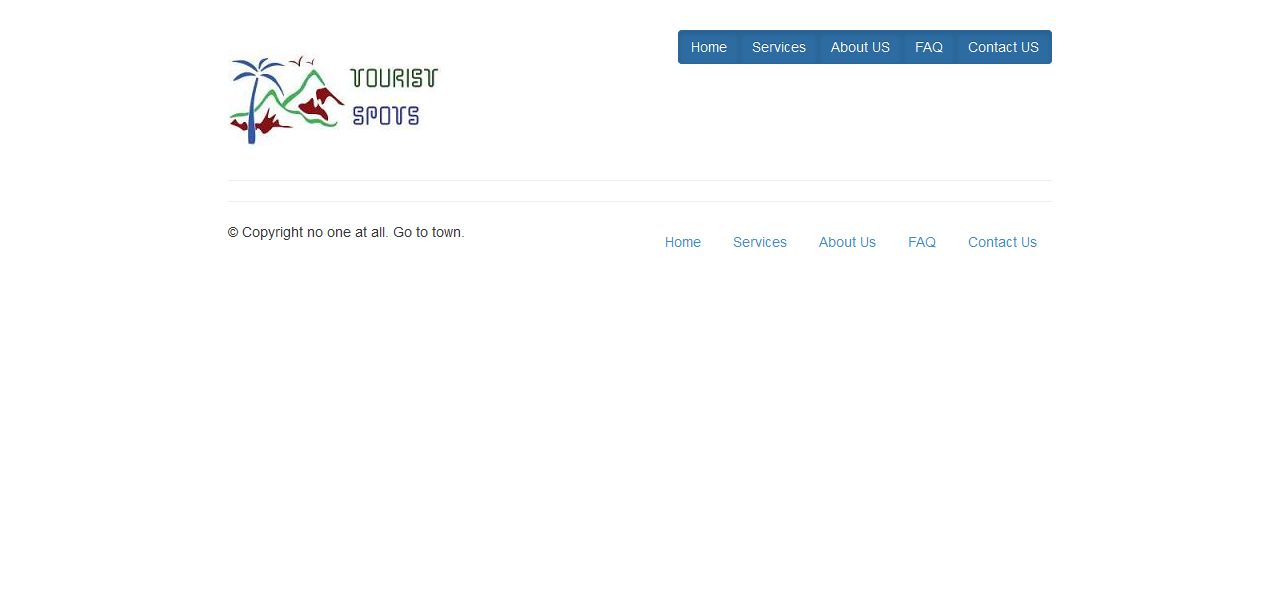
Step 2.1: Open Tourist Spot Layout page and renamed as service.html.
Step 2.1.1: Save the file and open it in your favorite browser, the web page will look like,
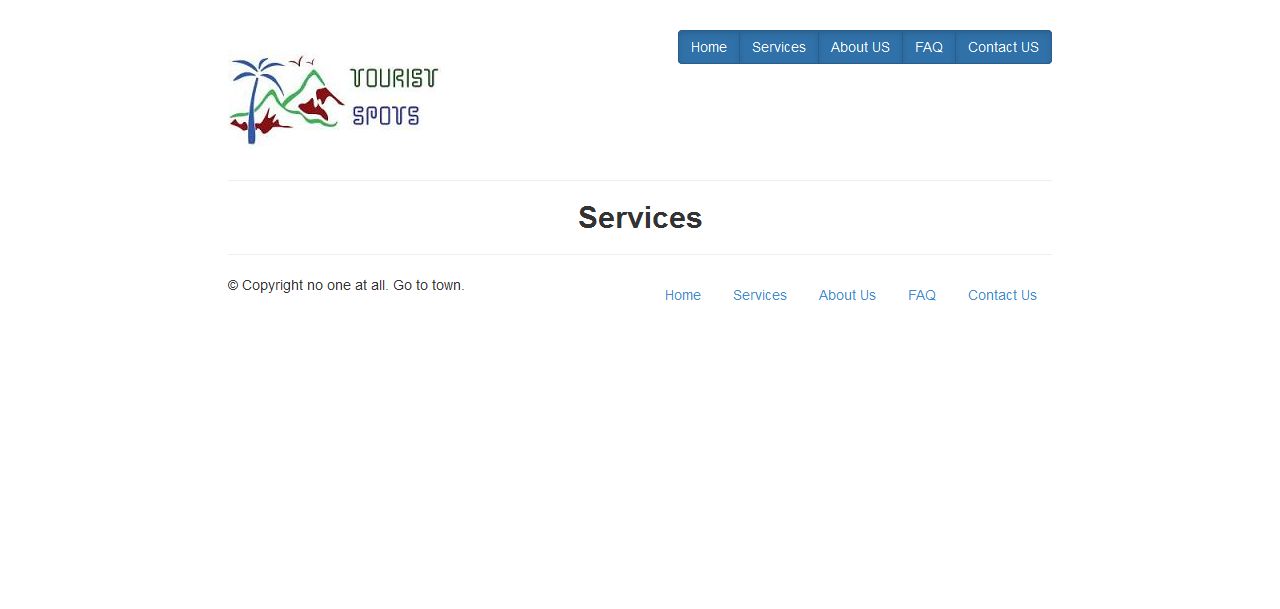
Step 2.2: Create title and add section for different services using grid.
<div class="row text-center">
<div class="col-md-12"><h2  style="margin:0;"><b>Services</b></h2></div>
</div>
<hr />
<div class="row text-center">
 <div class="col-md-4">
 </div>
 <div class="col-md-4">
 </div>
 <div class="col-md-4">
 </div>
</div>
Step 2.2.1: Save the file and open it in your favorite browser, the web page will look like,
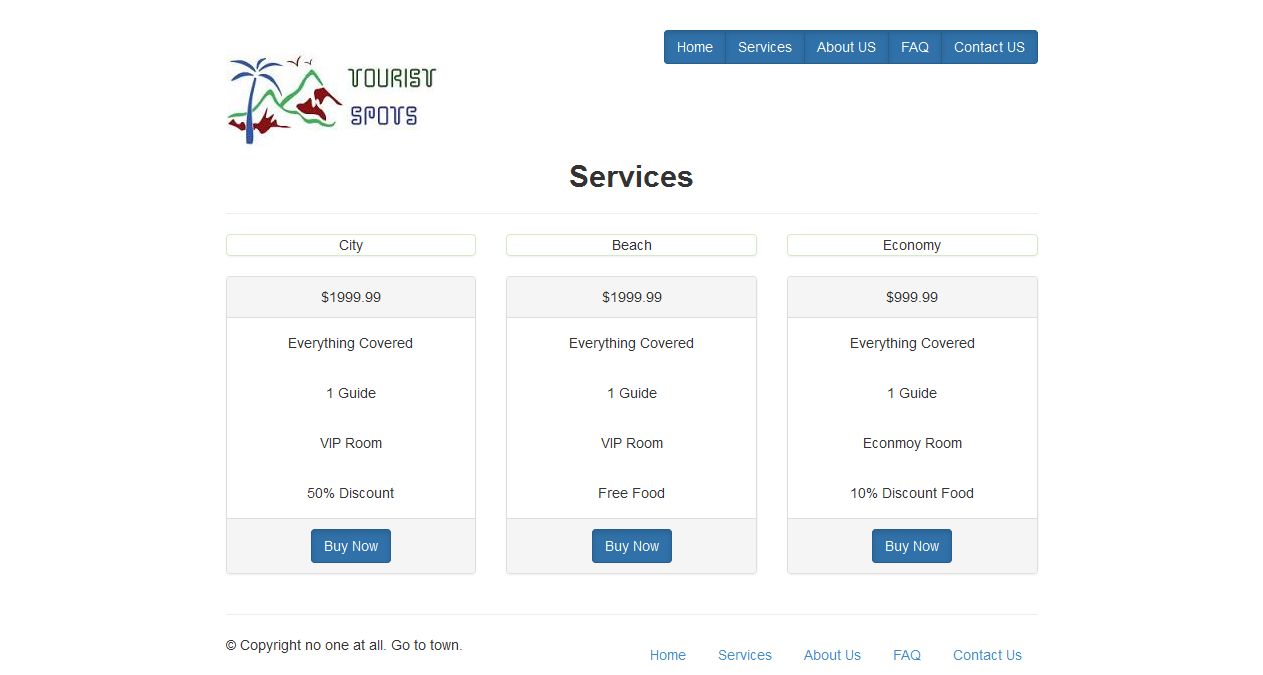
Step 2.3: Add Services in each <div class="col-md-4"> using panel as shown in below.
<div class="panel panel-success">City</div>
  <div class="panel panel-default">
    <div class="panel-heading">$1999.99</div>
    <div class="panel-body">Everything Covered</div>
    <div class="panel-body">1 Guide</div>
    <div class="panel-body">VIP Room</div>
    <div class="panel-body">50% Discount</div>
    <div class="panel-footer"><a href="#" class="btn btn-primary active">Buy Now</a></div>
</div></div>
Step 2.3.2: Save the file and open it in your favorite browser, the web page will look like,
Step 1 Step 3 >>